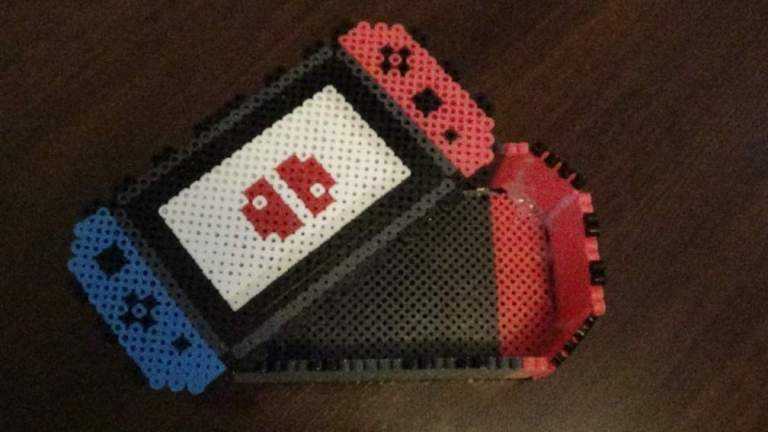
Hello everyone, it’s Shelfy and today I’m here with some instructions on how to create a 3D Perler beads Switch Box!
Materials Needed:
- Perler beads
- Dark Gray
- Black
- Light blue
- Dark Pink
- Red
- White
- Off white (optional)
- Iron
- Perler/ ironing paper
- Hot glue gun & glue sticks
- Perler peg boards
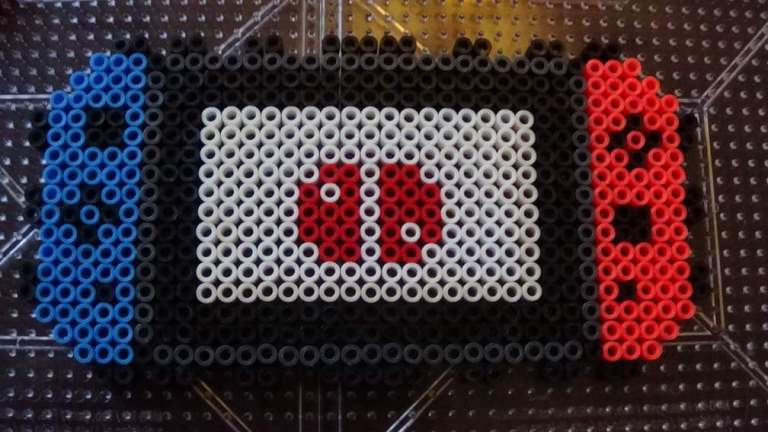
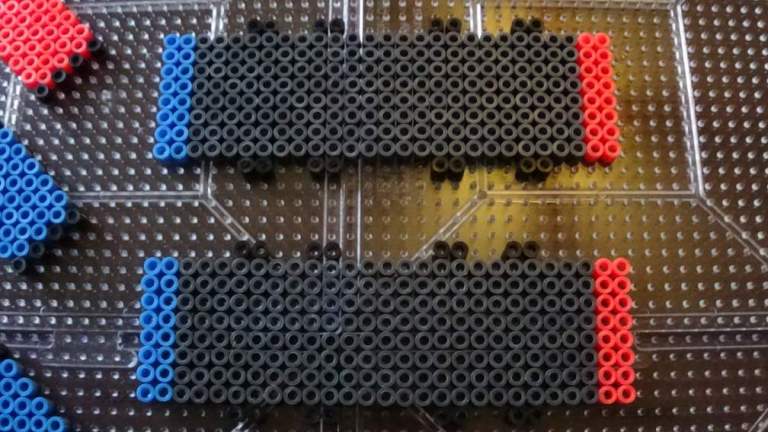
Creating Perler Pieces:
Like the Super Mario Star bank, this craft consists of two main steps, creating the perler bead pieces and then assembling them into the box. This time there are eight pieces, and as usual there are pictures below for you to follow along with. As always, remember to place down perler paper on top of the piece before ironing. Be sure to pay extra attention to pieces that have beads on a diagonal, as those may require a little extra ironing time in order to fuse. I nearly had an incident where my diagonal edges on the front of the Switch were not fused. I recommend that you start by ironing up and down in a very gentile motion and then once the beads are a bit more fused moving in circles.


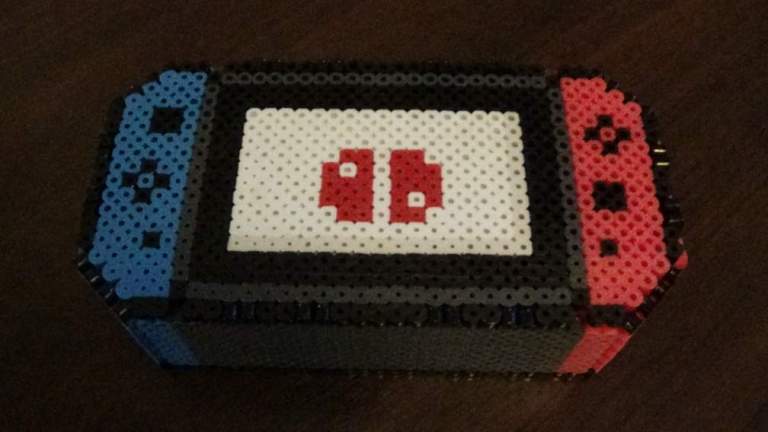
Assembling Perler Pieces
To assemble the pieces for this craft, make sure to ONLY use hot glue on the bottom piece so that the lid can snap in and out of place. The pieces are pretty self explanatory as to where they go, but in the YouTube video I show the box progressing as I glue more and more pieces onto it.
Once you have assembled you are finished! Be sure to hide some cool stuff in this box, or something practical, whatever floats your boat.